Static Website Generator vs. Content Management System
If you’re a dinosaur like me, you probably wrote your first websites manually, in HTML. In the 1990s and early 2000s, that was the default choice. Then came Content Management Systems, mostly based on PHP and MySQL: many competing systems first, until Wordpress dominated the market. Everyone shifted to them.
I want to convince you to go back from server-generated pages. But it doesn’t mean you need to edit HTML manually like it’s 1998. Static website generators use a different concept:
- your content lives in plain text files (usually Markdown)
- after editing a post or adding a new one, you use the generator to “build” the site
- it will then combine your content with the theme (that decides how you site looks) and configuration
- and will output HTML, CSS and images, that you can upload to the server
The build and upload phase can be automated, if you prefer.
Who is this guide for
I’m assuming you’re familiar with CMSes. It’s not really necessary, but I’m going to compare the two approaches. I’m also assuming you’re not afraid to work with the terminal. But it doesn’t mean you need to be an IT professional (though if you are one, everything here will be easy, if you’re not, it might take some effort).
Static websites often go together with git. If you’re familiar with it, I highly recommend to put your contents under version control. If you’re not, you can skip this part, it’s not required.
Or let the AI do it
The first time I used Hugo, I did all the steps below manually. This time I used Claude. It turned out it could competently handle most of the steps on its own: install the theme, change configs, rebuild, check the result, correct if needed. It worked especially well for migrating from Pelican to Hugo, since it required some boring steps: converting front matter and fixing image paths. I also used it to check for typos and other language errors (English is not my first language).
That doesn’t mean you can skip reading this guide, though. Even if you don’t run the commands, you need to understand the concepts. AI agents make mistakes and need pointing in the right direction.
Advantages over CMS
- Security - Since there’s no server-side processing, there are far fewer ways to attack your website.
- Server availability and cost - Again these come from no server-side processing: every web server can easily serve static pages. Which means you can use any cheap hosting provider and don’t even need to check what features are available.
- Speed - On a CMS, the page is generated the moment someone accesses it, which takes time - could be a few seconds or more for a complex page on a busy server. Serving static files skips this step entirely.
- Maintenance - There’s next to none. If you ever used WordPress, you know you need to constantly update your plugins and themes and it always introduces incompatibilities. With a static website generator, you can just continue using your setup as-is. (Fine print: you probably want to update the theme and the generator itself occasionally to get new features, but it rarely requires any changes to your config or content.)
Ease of use?
CMS is easier to use, at least once someone set it up for you. Everything is from an admin panel on the web. Website generators have a steeper learning curve.
But they’re only hard in the beginning. Once you’ve learned the concepts and configured it, adding more content is easy.
Pelican vs. Hugo
I had used another website generator in the past - Pelican. In 2023 I wanted to build a photo gallery and discovered its limitations. There are few people maintaining the app and creating themes, the themes themselves are hard to customise. I used Hugo for my gallery and it worked perfectly. Next time I needed to create a site, I used Hugo too. I’m now in the process of migrating my old websites.
Step by step guide
Some new vocabulary
- Markdown: a simple, text-only file format that offers some formatting: headings, bold/italic, tables etc. Used by many static website generators (plus GitHub, Jupyter and many other places, if you’re in IT, you use it everyday).
- Front matter: a block of metadata at the top of a content file. Here you set title, date, tags, draft status etc.
- Theme: a separate package of layout and styling files that decides how your content looks, without touching the content itself. Swapping themes shouldn’t require rewriting your posts.
- Archetype: a template used when you create a new page, so it starts with some sensible front matter already filled in.
- Shortcode: a small reusable snippet you can call from inside a Markdown file for things plain Markdown can’t do on its own, such as embedding a video.
- Page bundle: probably the concept that trips up new Hugo users the most, so it gets its own section below.
Installing Hugo and creating a site
I use Debian on my home laptop, so a simple sudo apt install hugo is enough to install. Other platforms have their own packages. Or you can download from the project’s website - Hugo ships a single binary. Make sure you get the “extended” edition if your distribution offers a choice - some themes need it for SCSS support.
Once installed, creating a new site is one command:
hugo new site my-website
cd my-website
This generates a skeleton directory: content for your pages, layouts for any template overrides, static for files copied verbatim (favicons, robots.txt), archetypes for new-page templates, and a configuration file (hugo.toml by default, or .yaml/.json if you prefer).
Choosing a theme
Browse the theme gallery on the Hugo website and choose one. There are several ways to install the theme, the recommended one is to use git submodule:
git submodule add https://github.com/some-author/some-theme themes/some-theme
Then point your configuration file at it:
theme = 'some-theme'
Most themes ship an exampleSite folder with a sample configuration - copying the relevant bits into your own hugo.toml will save you a lot of guessing about which parameters the theme actually reads.
Configuring the site
At a minimum, your hugo.toml needs a baseURL (the production URL of your site), a title, and the theme name. This is where you also configure what your sidebar/top menu will contain and hook up external systems (e.g. for comments). Here’s how hugo.toml for this website begins:
baseURL = 'https://selfhosting.too-many-machines.com/'
locale = 'en'
title = 'Self Hosting'
theme = 'hugo-theme-stack'
summaryLength = 40
copyright = "© Igor Wawrzyniak"
defaultContentLanguage = "en"
enableRobotsTXT = true
timeZone = "Europe/Stockholm"
disableKinds = ["section", "taxonomy", "term"]
Most variables are theme-specific and live under [params]. The first time I created a Hugo website, I spent some time reading the docs, next time I simply copied the file and changed what was relevant.
Page bundles: keeping content and images together
In many older static site setups (Pelican included), your Markdown files live in one directory and your images live in another, and you glue them together with a path like {static}/images/photo.png. In Hugo, another approach is possible: every page is a directory, containing an index.md plus all images and other files that the page needs.
content/internet/hugo/
  index.md
  screenshot.png
To use the image in a page, use just the filename - 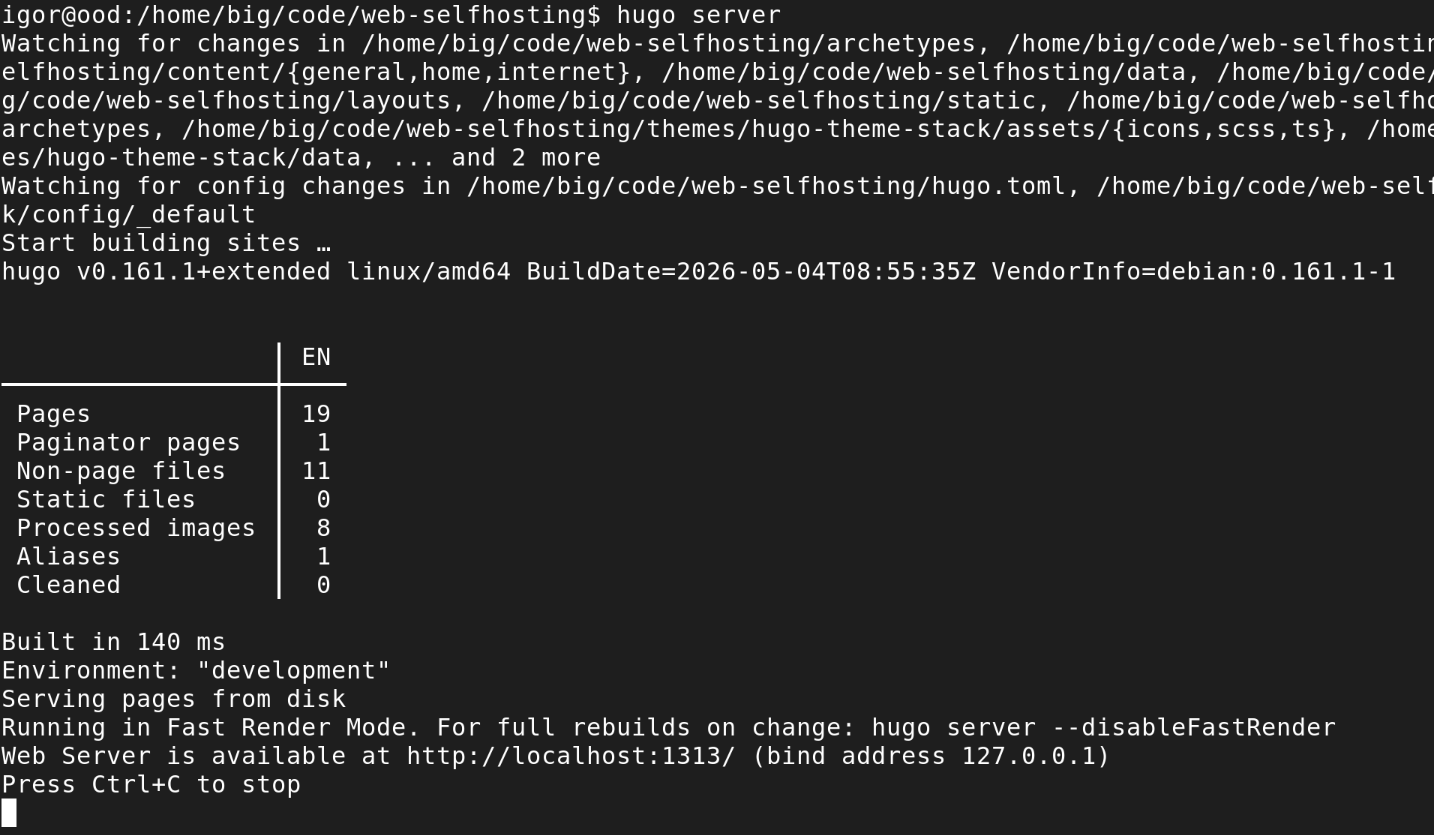 - no need to know the final URL. Hugo will take care of it. It will also automatically generate resized versions of your images.
This kind of bundle (one page, no children) is called a “leaf bundle”. A “branch bundle” is the same idea but for a section front page - a directory with an _index.md that can have further pages underneath it, such as a section listing page.
Adding your first page
You can create a new page bundle with the command: hugo new content posts/my-first-post index.md.
This creates the file with front matter based on archetypes/default.md. By default it has draft: true setting in the front matter so it won’t accidentally get published. Open it, write your content in Markdown below the front matter, drop any images into the same directory, and change draft to false when you’re ready to publish.
You don’t have to use this method though. You can just create a directory and write index.md by hand, or copy and modify an existing page, whatever is convenient for you.
Previewing and building
Hugo has a built-in development server that runs on http://localhost:1313/. It rebuilds and refreshes your browser automatically when you save the markdown file.
hugo server

When you’re done, generate the final static files with a simple hugo or hugo --minify to reduce size of CSS and scripts. This writes everything to the public directory, ready to be uploaded to your web server. You can automate building and uploading the website e.g. using a Continuous Deployment system, but that’s a story for some other day.